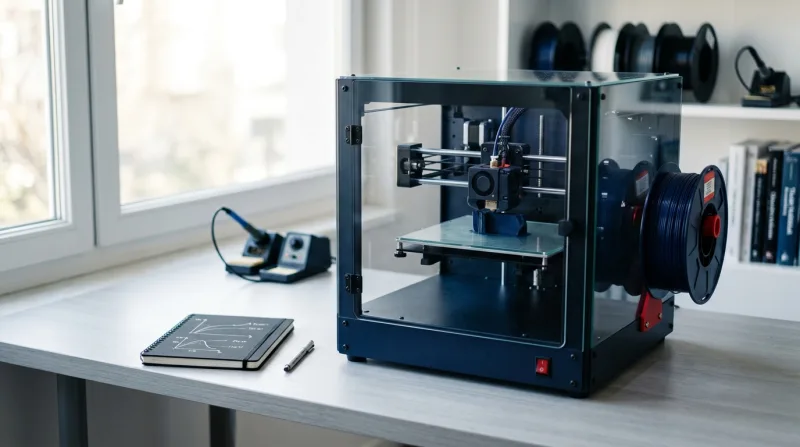
Creality K3 Klitek review
 Mehmet Akar
4 min read
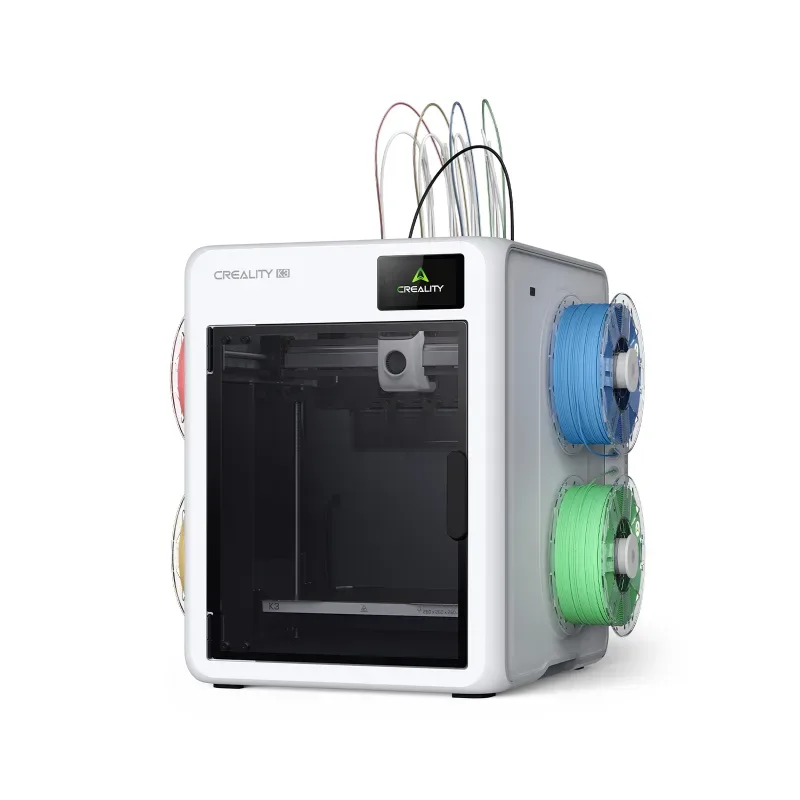
The Creality K3 Klitek aims to make switching between different materials and nozzle diameters within the same day effortless through its quick-swap nozzle system. In this review, I cover how the system impacts workflow, key setup steps, and who it makes the most sense for.
What does the nozzle swap system change?
On a traditional printer, switching from a 0.4 mm nozzle to a 0.6 mm hardened nozzle means cooling down the hotend, unscrewing the nozzle, installing the new one, and recalibrating. This takes 20–30 minutes and carries the risk of improper torque or leaks every time. The quick-swap system streamlines these steps, making it practical to switch between PLA, PETG, and carbon-fiber reinforced filaments on the same day.
In practice, the biggest advantage is being able to schedule fine-detail parts with a 0.4 mm nozzle and large functional parts with a 0.6 mm hardened nozzle within the same workflow. For abrasive filaments (carbon and glass-fiber reinforced), a hardened nozzle is mandatory; a standard brass nozzle will wear out quickly.

Choosing the right nozzle for the right job is the first step to getting the most out of a quick-swap system. The table below is a general starting point; exact values depend on the printer, filament, and part.
| Nozzle | Typical use | Material | Note |
|---|---|---|---|
| 0.2 mm | Miniatures, fine text and detail | PLA, PETG | Print time increases significantly; more prone to clogging |
| 0.4 mm | General-purpose printing | PLA, PETG, ABS, ASA | Default for most preset profiles |
| 0.6 mm hardened | Functional and large parts | Carbon and glass-fiber filaments | Required for abrasive materials |
| 0.8 mm | Fast draft parts, fixtures | PLA, PETG | Layer lines become prominent, strength increases |
What to watch out for during setup
- Place the machine on a flat, vibration-free surface in a well-ventilated area.
- Remove all shipping locks and retaining screws before powering it on for the first time.
- Complete the auto-calibration with an empty build plate, then set up the network and camera connections.
- Run your first test print with standard PLA before moving on to engineering filaments.
- Perform a quick flow and first-layer test after the initial swap for each nozzle.
In my setup and hands-on training package, we complete all of these steps together right at the machine using your own filaments.
Quick checklist after every nozzle swap
Even though the swap mechanism is fast, the printer needs to know which nozzle is installed and the first layer must go down properly. Making this routine a habit reduces surprises:
- Select the nozzle diameter and type (brass or hardened) in the slicer to match the new nozzle.
- Load the matching printer and filament profiles together; do not mix profiles across different nozzles.
- Check the first-layer height and Z-offset with a small test square.
- Verify flow and retraction values with a quick test if the nozzle diameter has changed.
- Save the results in the profile notes so you don't have to repeat the test on the next swap.
Profile management for engineering filaments
Once nozzle swapping gets faster, the real difference comes down to profile discipline. Keeping a separate, clearly named, and versioned profile for each nozzle and material pair delivers repeatable results. For a practical way to keep your profiles organized, check out my note on versioning print profiles with Git.
[filament]
type = PLA-CF
nozzle = 0.6 hardened
nozzle_temp = 225
chamber_temp = 35
flow_ratio = 0.96
retraction = 0.8
Maintenance and consumables
- Hardened nozzles also wear out over time; if you print with abrasive filaments, inspect the nozzle regularly and keep spares on hand.
- Store hygroscopic filaments (PETG, nylon, and composite types) in a sealed dry box with desiccant; damp filament causes stringing and surface bubbles.
- Keep the nozzle swap area free of filament residue; oozed material can prevent the connector from seating properly.
- Follow the manufacturer's recommended maintenance intervals and spare parts list in the user manual.
Who is it for?
It is a sensible choice for workshops, prototyping teams, and educational institutions that print with various materials and nozzle diameters within the same week. For users who stick to a single material and nozzle size, the extra mechanism may add unnecessary complexity and maintenance. If you plan to move on to materials like ABS and ASA, my active chamber temperature guide will also help.
I am also working on a local tool that diagnoses print defects and suggests profile adjustments: 3D Printing Desktop AI Assistant.

Conclusion
The true value of the Creality K3 Klitek shines when you pair quick nozzle swaps with solid profile management. For help choosing a machine or setting up your workflow, take a look at my 3D printing consulting page.