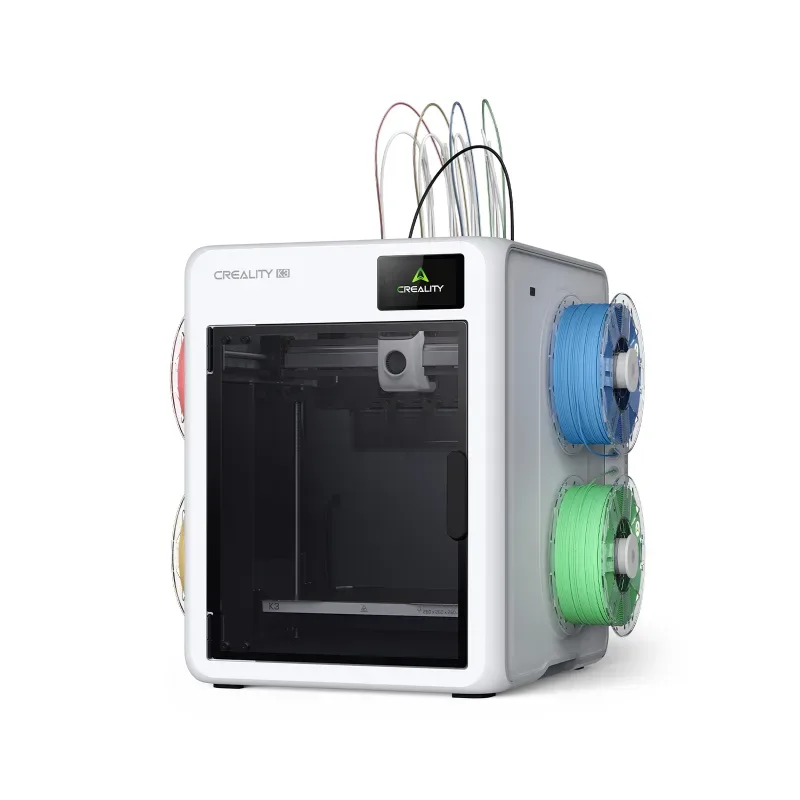
ABS and ASA Printing Temperature Guide for Actively Heated Chamber Printers
 Mehmet Akar
4 min read
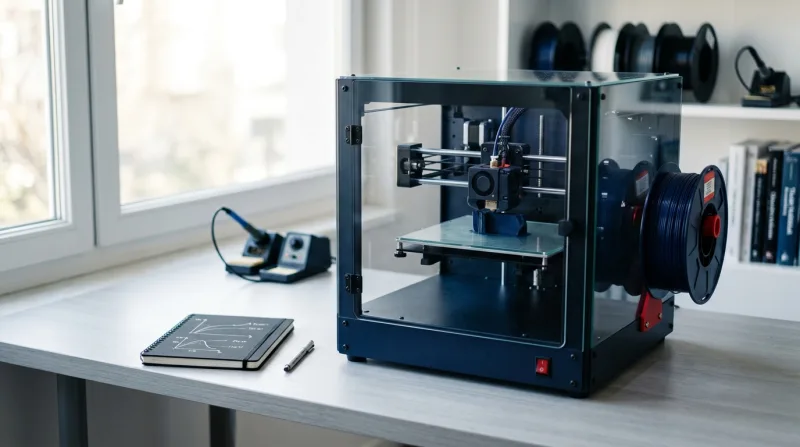
Most warping and layer splitting in ABS and ASA printing comes down to temperature management. In this guide, I have compiled starting values and a troubleshooting checklist for the nozzle, bed, chamber, and cooling fan in an actively heated chamber.
ABS and ASA print temperatures are about much more than just the nozzle setting. Both materials shrink noticeably as they cool; if the lower layers stay warm while the upper layers cool down, internal stress builds up. The result is either corners lifting off the build plate (warping) or horizontal cracks on tall parts. An actively heated chamber minimizes this temperature gap by keeping the air around the part warm and stable.
Starting values
The ranges below are a solid starting point for most ABS and ASA filaments. Always check the filament manufacturer's recommended range first, then dial it in on a small test piece in 5 °C steps.
- Nozzle: 240–260 °C for ABS, 245–260 °C for ASA
- Bed: 95–110 °C (textured PEI or a thin layer of adhesive)
- Chamber: 45–60 °C; do not exceed the maximum temperature rated for your printer's electronics and motors
- Part cooling fan: off for the first few layers, then 0–20%; can be boosted briefly for bridges and overhangs
- First layer: a slightly higher nozzle temperature and slower speed noticeably improve bed adhesion
Chamber preheating and cooldown
Chamber temperature rises slowly after the bed heats up. Preheating for 10–15 minutes before starting the print prevents the first layers from being printed in cold air. When the print finishes, do not open the door right away: letting the part cool down gradually inside the chamber for a few minutes reduces sudden shrinkage and cracking in the top layers.
Adding a brim on large flat surfaces or small helper discs (mouse ears) on the corners provides extra security. On tall parts, make sure the chamber circulation fan does not blow directly onto the print.
Differences between ABS and ASA
The settings for both materials are very similar. ASA is more resistant to UV light and weather, making it the better choice for outdoor parts. ABS is more widely available and generally more affordable. Using the same base profile family for both materials and only separating the temperature and fan values keeps profile management simple. To keep your profiles organized, you can try versioning print profiles with Git.
ABS and ASA emit odors and fumes during printing. Enclosure filtration (activated carbon and HEPA) and room ventilation should be planned properly; this is why workshop infrastructure is part of my consulting scope.
| Feature | ABS | ASA |
|---|---|---|
| UV & weather resistance | Yellows and becomes brittle over time | Much more durable outdoors |
| Print settings | Similar range | Similar range, nozzle may be slightly higher |
| Odor and fumes | Noticeable | Noticeable |
| Availability and price | More common, generally more affordable | Fewer options, generally more expensive |
| Typical use | Indoor parts, enclosures | Outdoor parts, automotive accessories |
Moisture and storage
Although not as hygroscopic as nylon, ABS and ASA still absorb moisture from the air. Wet filament causes popping at the nozzle, surface bubbles, and weak layer adhesion. These symptoms can easily be mistaken for temperature issues; make sure the filament is dry before changing your ABS and ASA print temperatures.
- Store opened spools in a sealed box with desiccant.
- Dry any spool that has been left out for a long time at the temperature and duration recommended by the manufacturer.
- Do not let the drying temperature get too close to the filament's glass transition temperature, or the spool and filament may deform.
Troubleshooting order
- If corners are lifting: clean the build plate first, then increase bed and chamber temperatures, and add a brim as a last resort.
- If tall parts have horizontal cracks: reduce the part cooling fan and raise the chamber temperature.
- If the surface looks dull or blistered: lower the nozzle temperature by 5 °C and check the filament for moisture.
- If results vary from print to print: preheat the chamber for the exact same duration every time.
I am also working on a local tool that diagnoses print defects from photos and suggests profile adjustments: 3D Printing Desktop AI Assistant.
Change only one variable at a time. If you change two settings together, you will not know which one fixed the issue.
Conclusion
Getting the right ABS and ASA print temperature comes down to balancing the nozzle, bed, and chamber together. If you need help with enclosed and heated chamber setups, filtration, or hands-on training for your team, visit the 3D printing consulting page.